


Note: Windows 8 and 10 systems may require Internet access to install the .NET Framework.
Note: During or after install, your system’s firewall or antivirus software may alert you to changes we are making to your system. If we don’t make these changes, the T.O.V.A. may not function correctly. When asked, please choose ‘Allow’, ‘Unblock’, or whatever allows the installer to proceed.
Once you see the Welcome screen (Figure 4), the installation has begun. Click ‘Next’.
If you accept our License Agreement (Figure 5), choose ‘I Agree’ and click ‘Next’. If you don’t accept it, then you can’t install the T.O.V.A. , so click ‘Cancel’. And then please give us a call, because we’d love to know why you don’t agree with it.
From this point on, we strongly recommend that you accept all defaults (just click ‘Next’).
Figure 6 shows the Destination Location page. You will probably want to accept the default.
While the T.O.V.A. files are installing, you’ll see Figure 7. It could take a few minutes.
Note: If prompted during install, follow the steps to install .NET Framework 3.5.
You’ve finished installing the T.O.V.A. files. You’ll notice in Figure 8 that ‘Configure T.O.V.A. system preferences’ is checked by default. The T.O.V.A. installation has finished, and your next step should be to configure the T.O.V.A. for this system. Proceed to section 12.
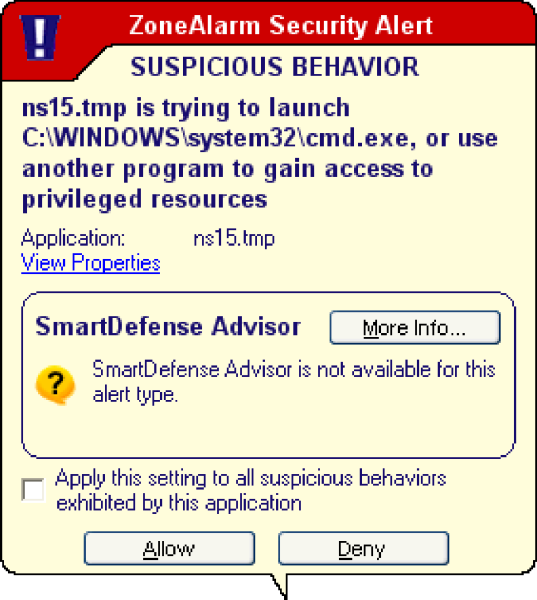 If you get a warning during install, please choose ‘Allow’.
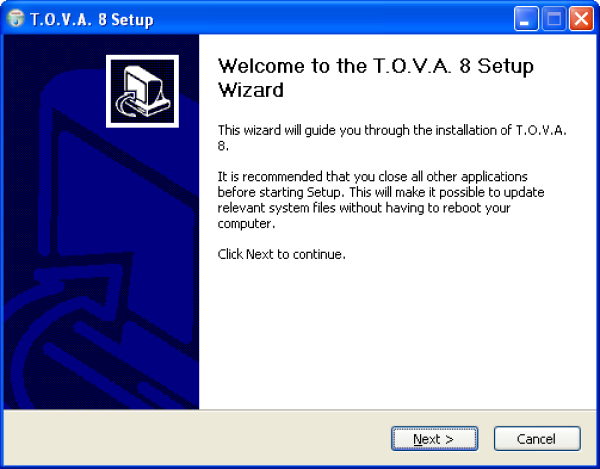 The T.O.V.A. installer welcome screen
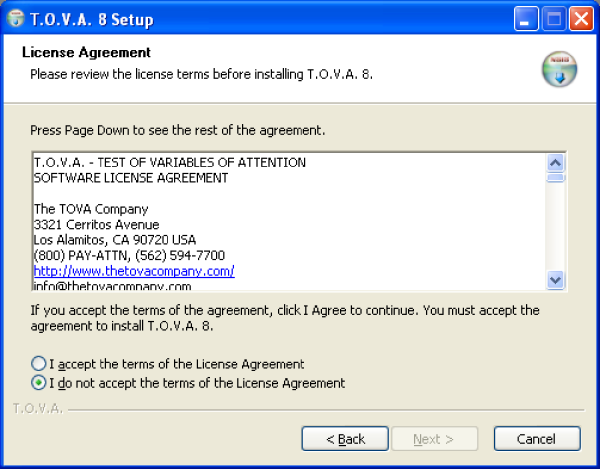 The T.O.V.A. software license
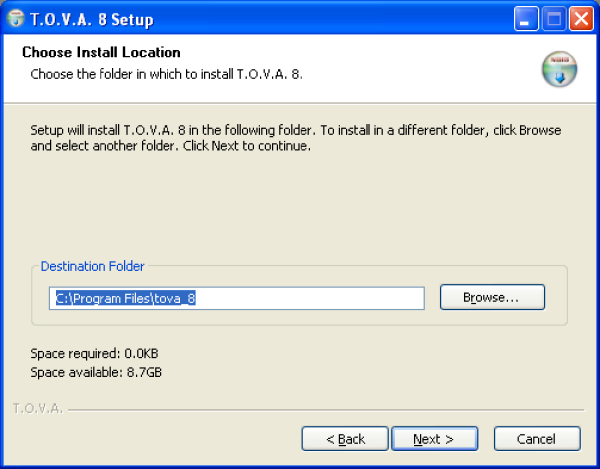 Choosing a destination path
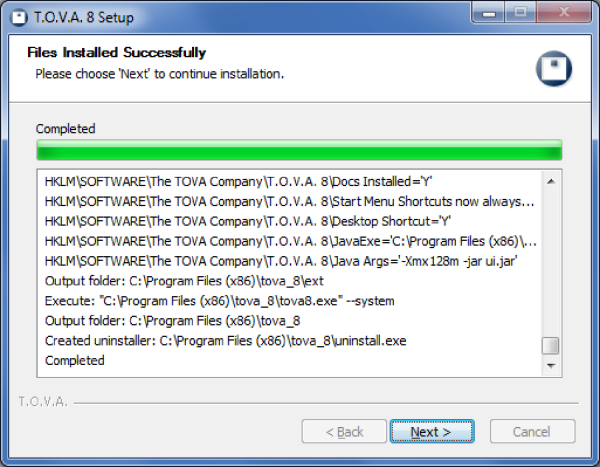 Installing files
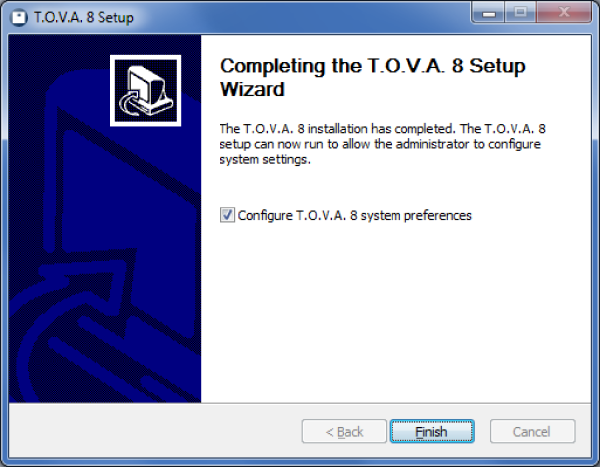 T.O.V.A. installer is finished!