


First, the installer will check whether your system meets the minimum system requirements for running the T.O.V.A. . Click ‘Continue’.
Once you see the Introduction screen (Figure 10), the installation has begun. Click ‘Continue’.
The release notes for the current version are displayed. Click ‘Continue’.
The software license agreement for the T.O.V.A. is displayed. Click ‘Continue’ after reading, then click ‘Agree’ to proceed with installation.
This screen shows how much space will be taken by the installation and is the final confirmation before installation takes place. The install location is the /TOVA folder in the Applications directory of your main volume. Documentation is placed in the Docs folder therein. Do not change the install location or else automatic web updating will not work correctly. Click ‘Install’ to begin installation.
You will then be asked for your password in order to briefly grant the administrator privileges required to complete installation. Enter your password and click ‘OK’.
Installation should complete in a few seconds. Press ‘Close’ to quit.
You’ve finished installing the T.O.V.A. files. The T.O.V.A. installation has finished, and your next step is to configure the T.O.V.A. for this system. Proceed to section 12.
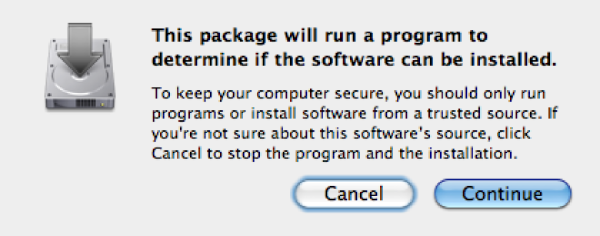 The T.O.V.A. system check dialog
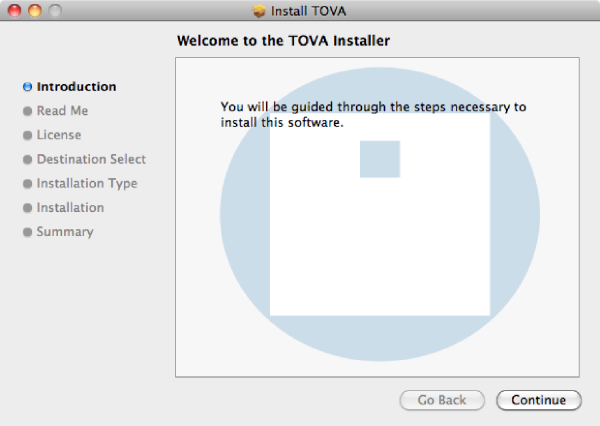 The T.O.V.A. installer Introduction screen
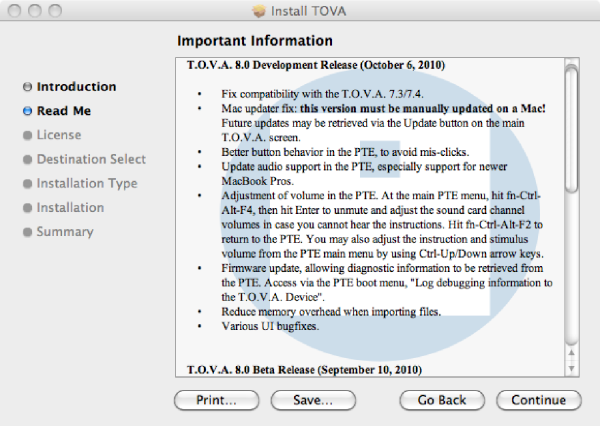 The T.O.V.A. installer Read Me screen
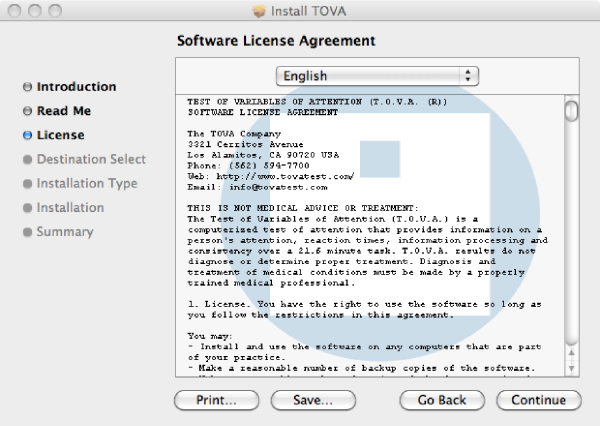 The T.O.V.A. installer License screen
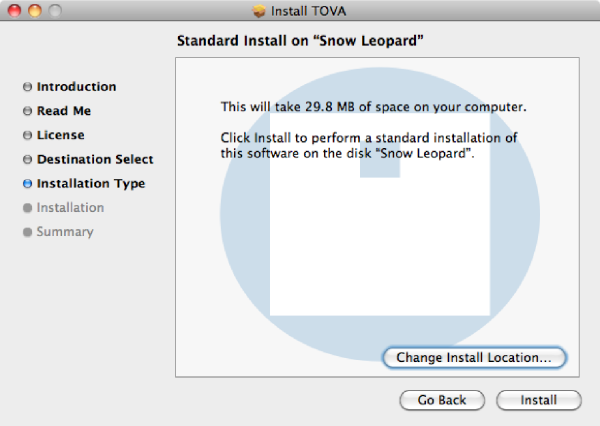 The T.O.V.A. installer Install Type screen
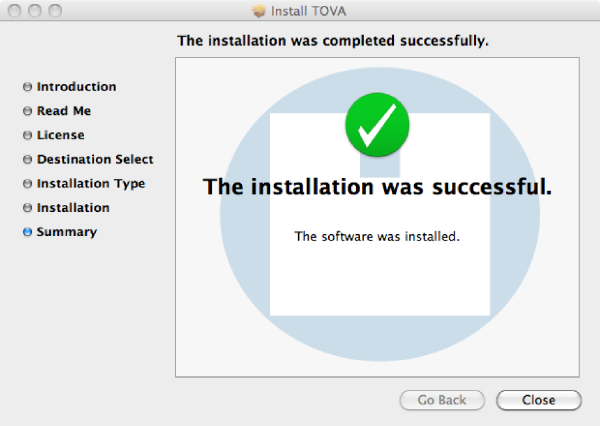 Installation complete